


Writing codes of a programming language is the building block for creating websites, software applications, games, etc. While building any of these software products or programs, there's a need to have it stored on a platform where it is easily accessible either by collaborators only or by both collaborators and visitors.
There are various platforms for hosting your projects as Netlify, GitHub, etc. While some allow you to only upload your project resources once, others like GitHub allows you to upload your resources, make changes, and track your changes too.
To understand this article better, the author assumes that you have a basic knowledge of:
- Git version control
- Command Line Interface
- Coding in any programming language
This article will teach you:
- How to create a GitHub account
- How to create a repo
- Ways to clone a repo to your desktop
- How to work on the cloned repo from your desktop
Intro to GitHub
As stated earlier, the need for collaboration and accessibility irrespective of location, is the reason for GitHub. In other words, GitHub is a platform for hosting codes and projects as an individual or a team. It is popular for using different methods such as commits, pull request branches etc to foster communication and version control in a team.
Mind you, git is different from GitHub. The former is an open source version control system for managing the source codes of programs while the latter is a hosting platform that is based on git.
To use GitHub, you need to create an account on the platform.
How to create a GitHub account
You can create a GitHub account by following these steps:
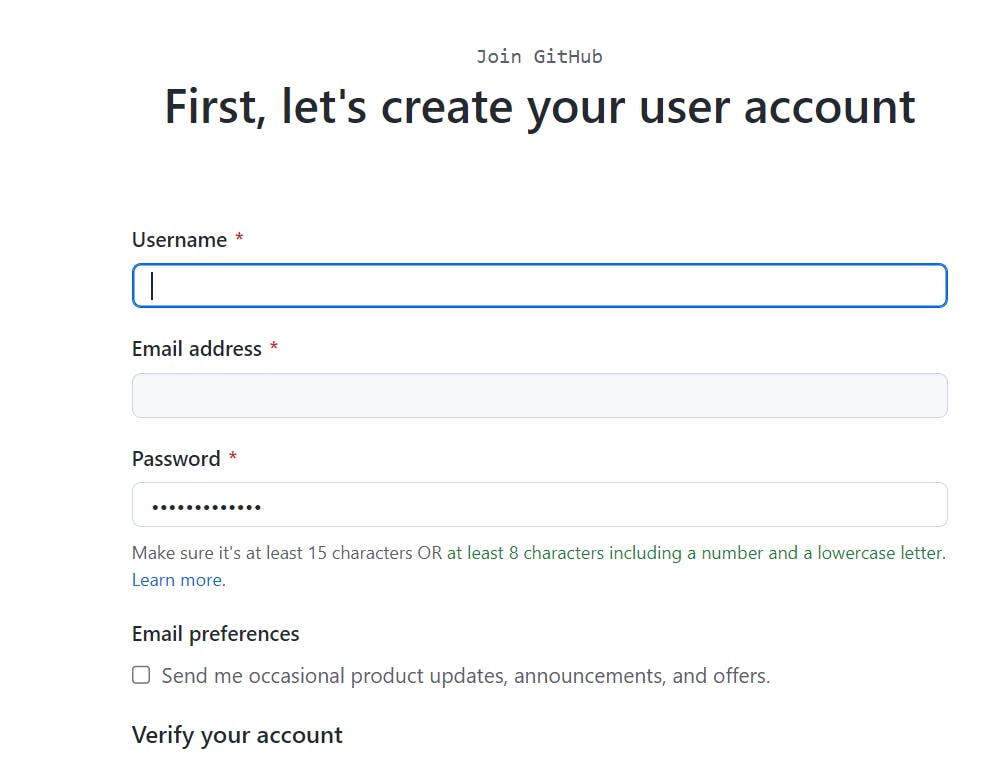
- Log on to github.com/join
- Fill in a username of your choice
- Enter your email
- Choose a password
- Verify your account by solving the puzzle
- Click “Create account”
- You can also choose to create an initial README file
Now that you have an account on GitHub, you are not going to leave it empty right?
No, you won't!
You'd have for fill it up with content which in this case is known as a Repo
What is a Repo?
A Repository (repo) is a folder that contains your source codes and other files necessary for your program build. A repo could also contain a ReadMe file for initialization; this file explains briefly what the project is all about.
 Since GitHub hosts your source codes and other resources of your projects for easy access, a repo can be likened to a packet which makes it possible for you to have many dissimilar files saved on your account on GitHub. This means that different files and source codes for different projects can be stored on different packets
How to create a repo
- Log-in to your GitHub account
- Click the “+” beside your picture avatar
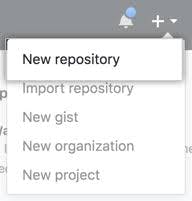
Select “New repository”
When the new page opens, choose a name for the repo
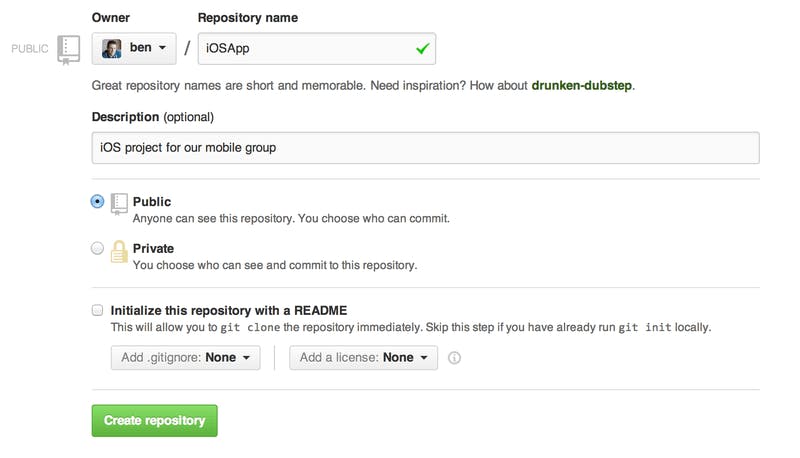
- Fill in the other boxes with the required detail
- Then click “Create repository” at the bottom of the page
Voila! You have created your first repo! The next step is to click the add files then choose to create a file or upload a file
Congratulations on setting up your first repo
Ways to clone a repo
When creating or importing a new repo, you can either set it to private or public view. Repos set to private view can be accessed or viewed by collaborators or invited guests while Public repos are accessible to everyone on GitHub. Irrespective of how you access a repo, either as a collaborator or a general viewer, there will always be a need for you to have your own branch of such repo for ease of collaboration and version control.
Cloning simply means having a copy of something. For You to work effectively as a team on a group project, it is advised that each team member has his own branch. Having your own branch simply means having a version of the repo where you can manipulate without affecting the original repo which is often referred to as the "master" or "main" branch.
When you clone a repo and effect some changes, the system automatically asks you if you want to push the change to the master or main branch or you want to create your own branch.
How then do you clone a repo?
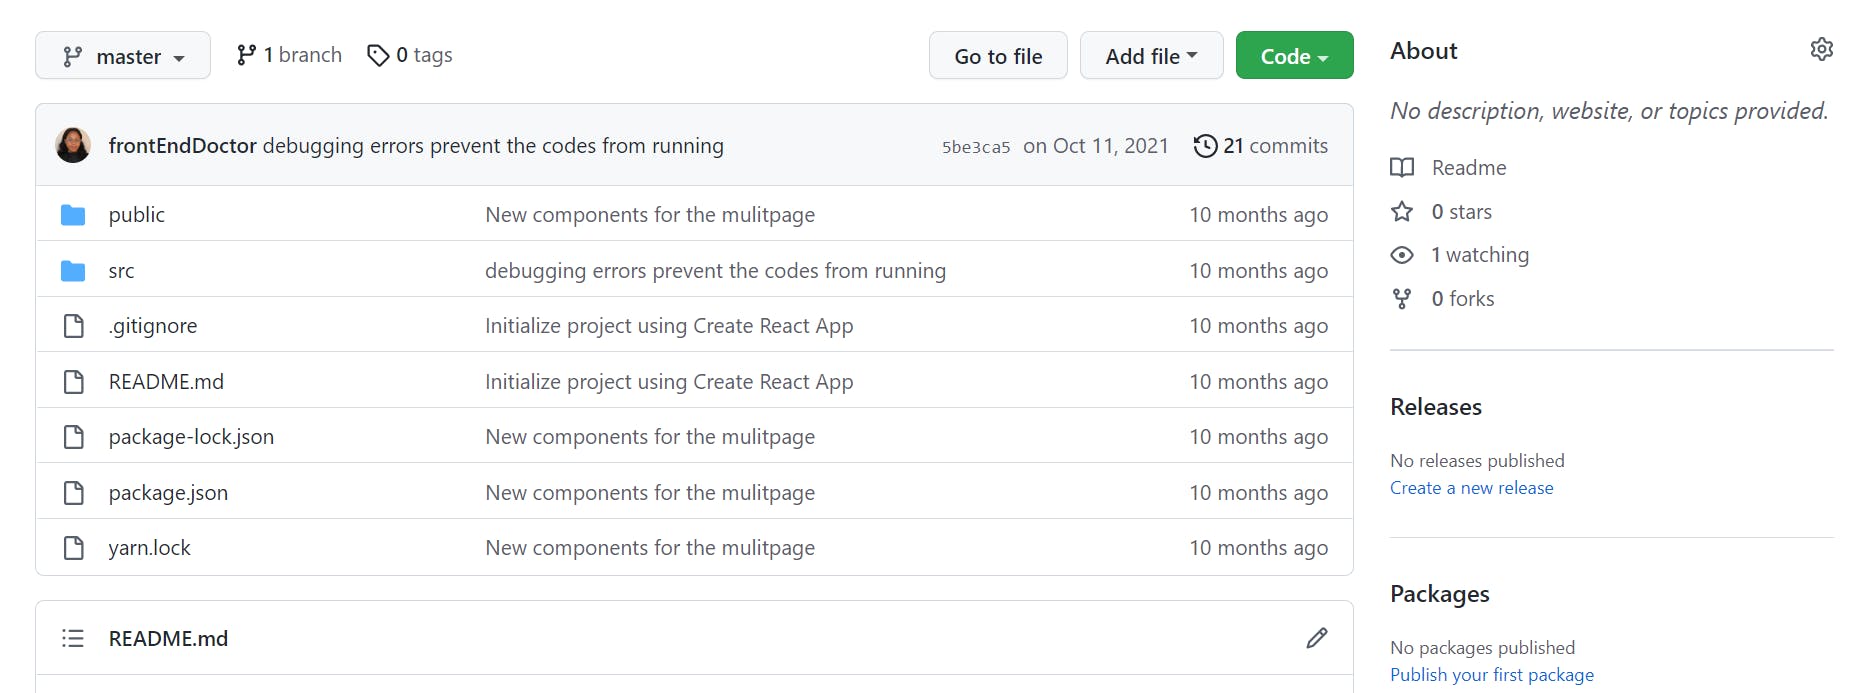
GitHub is very robust, such that it offers different means to achieve a goal. To clone a repo, navigate to the page containing the repo’s files and click on the clone button in green. It will display a list of about 3 options horizontally aligned and two options vertically aligned
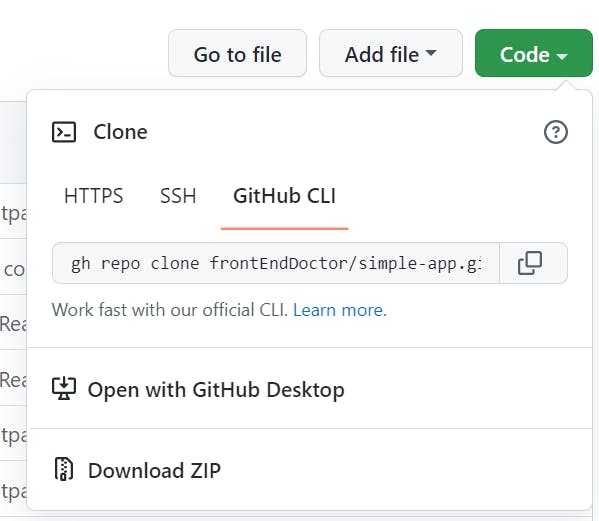
As shown above, there are five options to clone a repo are:
- URL: The URL method involves copying the Repo’s URL and pasting it in the tab as shown below.
- Secure Shell (SSH) Key: Using SSH requires having a certain key assigned to you for permission to clone the repo. This occurs most times when the repo is private.
- GitHub Command Line Interface (CLI): Just like installing packages using the common line interface, you can also clone a repo with CLI using the command that links to the repo
- Download repo as a zipped folder: In this case, the entire repo is downloaded to your machine as a zipped folder. You can then choose to extract and open the folder using GitHub Desktop.
- Open with GitHub Desktop: Selecting this option, open the repo automatically on your machine. Each of these options achieve the same goal with different methods.
For this article, we’ll dwell more on Opening with GitHub Desktop but first you should install GitHub desktop here

When installation and setup of GitHub Desktop is complete; you can create New Repo, Clone a repo and perform various operations right from your desktop.
How to work on the cloned repo from your desktop
Let’s go back to Opening a repo with GitHub Desktop
When the repo is cloned to your desktop by selecting the Open with GitHub Desktop option, what happens is that you now have access to the repo from your machine and you can make any changes to the repo but…
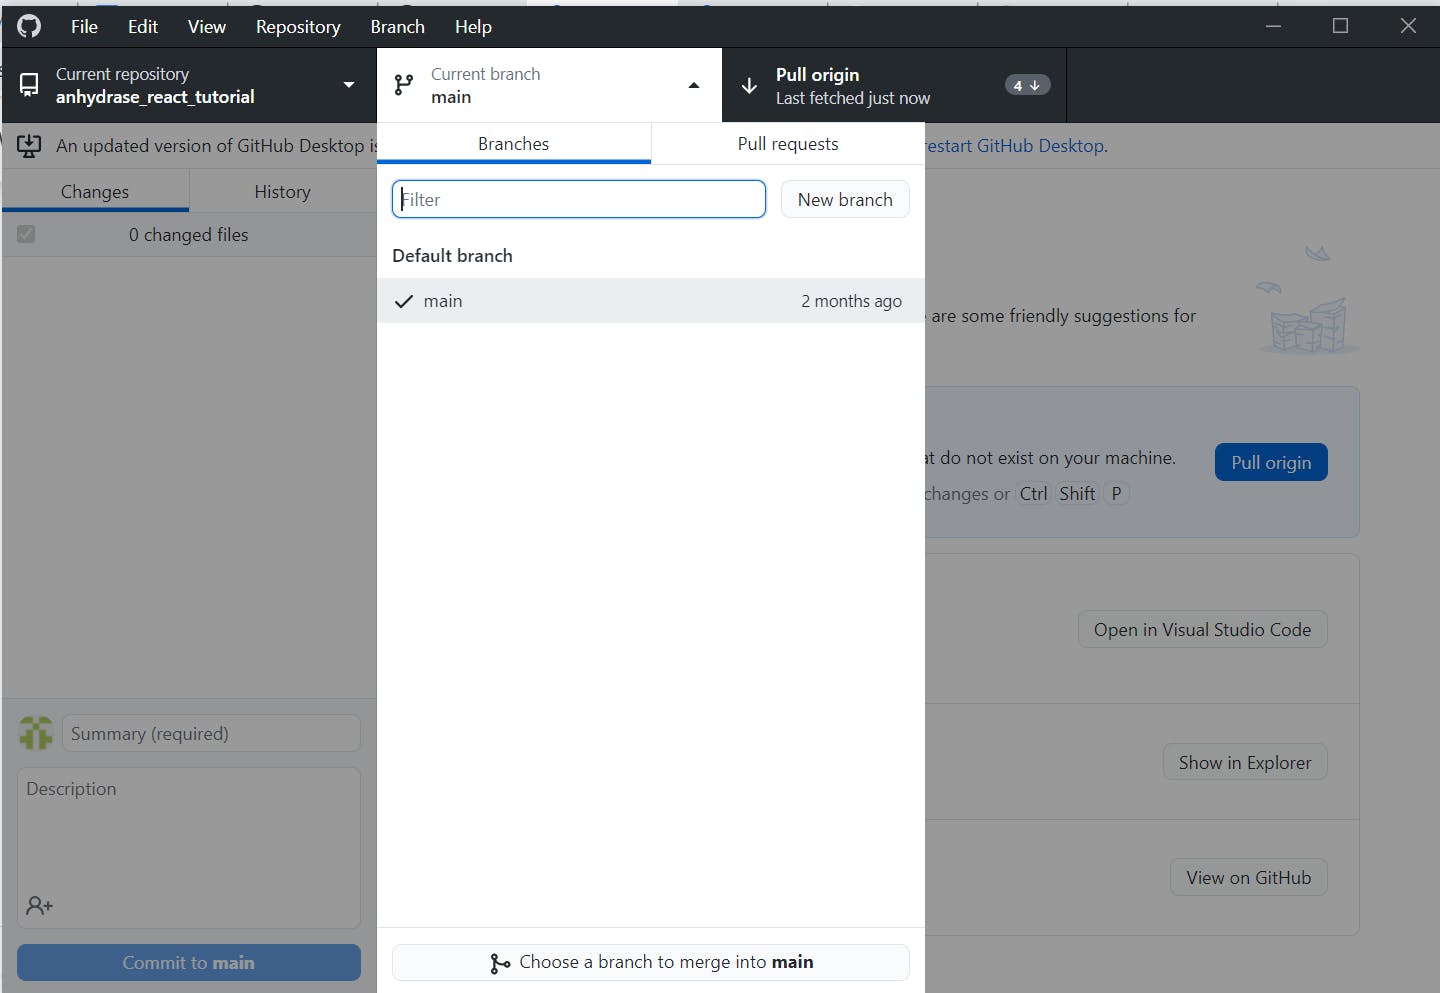
Whatever change you make on the repo will not be saved instantly to the original repo, rather you’ll be prompted to Create a branch, after which you’ll be prompted to publish the branch.
You can also open the clone repo on VSCode right from the GitHub Desktop as shown above
Note: While working on the branch you created, GitHub will from time-to-time prompt you to either publish the branch or create a pull request for merging of your branch to the main/master branch.
Conclusion
GitHub enables you to have easy access to repos, collaborate with a team beyond your locality, and of course, contribute to open source. Having a practical knowledge of how to work with GitHub is not only necessary but very important in your software development journey.
Keep learning Keep practicing